Take a look at this training guide, a useful schedule to keep you in top form, whether you want to train like a pro, or just keep up with other amateurs and avoid making a fool of yourself. Either way, this routine will have you thinking, feeling – and playing – like more of a player than you thought possible.
What is DOMS? DOMS stands for delayed onset muscle soreness, which is a common feeling of mild discomfort the days after exercising hard.
Each section is split into days of the week, with a section for professionals or amateurs.
The Full Soccer Training Schedule
MONDAY – The pro session
DOMS (Delayed Onset Muscle Soreness) is the pain you feel the day after the day after your workout. In other words, 2 days after a period of high exertion, like a game or a heavy practice, and your body will let you know its displeasure.
If you played a game Saturday, chances are your body is really feeling the recovery burden on Monday. The best way to decrease the pain is to get moving – but it doesn’t have to be high impact. Some mobility training, yoga, or simple stretching will help get the body warmed up and remove some of the discomfort.
Once that’s done, move on to doing drills for about a third of the time played on Saturday. So if you played 90 minutes on Saturday, do 30 minutes of drills that use similar movements you did during the game. This will help muscles to recover and will lessen the pain.
The good news? The more consistently you train, the less you’ll feel DOMS, if at all.
Monday – The amateur session
Getting to the gym is a great way to work some of the weekend soreness out of your muscles. You won’t likely be with your team, but it helps to have a workout buddy so you can keep each other consistent and loyal to that hour (or so) of workout time.
Start by warming up the muscles on the bike or treadmill. This should be low-intensity and last only 15 minutes or so – just enough to raise the body temp and help those muscles to expect a little work. Some flexibility exercises are next, just like the pros. Since you probably don’t have a coach or flexibility trainer on hand, have a look on YouTube for yoga or mobility routines. With sound off, or headphones in, you can watch these right in the gym while you do them.
Round off the routine with some more low to medium-intensity work. The bike, treadmill, foam rolling, or swimming are all great choices. Mix them up for a varying routine.
TUESDAY – The pro session
Monday eased your sore muscles from DOMS; today will run them through the paces. A warm up of calisthenics, treadmill or bike work is first, followed by flat-out sprints over 30, 40 and 50 meters to condition and protect the hamstrings.
After this, we do intense ball work, then some small-side games (like 5v5, 7v7, or even 2v2). The small teams mean high intensity and constant work.
The day finishes up with intense straight line running drills or shooting.
The whole thing lasts 90 minutes (plus warm-up).
Tuesday – The amateur session
Warm up first, then do four straight-line running drills at about 70% intensity, for four minutes each. Rest for two minutes between each one.
Follow this with six 20-second sprint drills, with 40 seconds between each one to recover.
I prefer players do this on the pitch, but if you want you can use a treadmill – the effect will be similar. Get (or keep) your body in shape and it will pay big dividends on game day.
WEDNESDAY – The pro rest day
A ‘rest day’ doesn’t mean doing nothing, it simply means doing nothing intense. Taking a walk will not only help you clear your mind, it will also make Thursday’s workout a lot easier. Doing nothing for the day will break the rhythm of regular workouts.
Let the day be a rest for your mind. A rest from high intensity… but don’t be a couch potato.
Wednesday – The amateur rest day
If you work all week, especially at an active job that has you moving around or doing labor most of the day, you’ll need a day off from training. Put your feet up. Your job gave you a moderate workout (or more), so you don’t have any dues owing when the quitting time rolls around.
THURSDAY – The pro session
We’re a couple of days from game-time here, so we don’t want to drain the body of everything it has. That said, we want to do some shorter, explosive drills and training that will sharpen skills. The key is low volume.
Something like 5-10 seconds of agility training with a minute and a half of recovery between sets. There will be a lot of coaching and fine tuning during these sessions, so watching others can be as valuable as doing the drill yourself.
Thursday – The amateur session
Like the pros, you’ll want to do some short, explosive drills (after a warm up of course). A 5-10 second shuttle run is a good example, taking a full minute between each one to recover. Concentrate on the speed, triggering those quick-twitch muscles to build and strengthen. More info on soccer sprinting science here.
Don’t overdo the number of sets either. Save some oomph for game day.
FRIDAY – The pro session
Tomorrow is game day. We do much the same type of workout as we did on Thursday, but we add a greater element of fun to it. Relay games, sometimes with the ball and sometimes without, are a great example. Make them competitive, but with high rest periods.
The point is to work the body, yes, but also to bring the mind into a positive, competitive state, ready to get into the groove of game day, adding the training to the skills and applying it all to the dynamic situations in an actual game.
Friday – The amateur session
Since you’re working and, by Friday, probably tired, you don’t need to work out again today. Do make sure you are properly hydrated though, and that you get sufficient sleep. A good carb-centered meal is a great idea too, so you have the needed energy on hand the following day.
I know it’s Friday, but avoid the booze. It will dehydrate your body, and make your sleep less restful.
SATURDAY – The pro matchday
Players meet for a communal breakfast at nine. It gets the day into a team-oriented mode right from the start, and allows us to do stretching and mobility work together. At quarter to twelve we serve the pre-match meal. A bit of a break follows, then a team meeting and we’re warming up by 2:20. The warmup is a little less than half an hour, and moves from low-intensity activities to those that mimic what will be needed in the game.
Then we leave it all out on the field.
Saturday – The amateur matchday
Get to the venue early to familiarize yourself with the place and to get your head into game-mode. Do some flexibility and general warmup activities, then add a ball and warm up with a few kicking drills followed by shots on net or quick passing. Always start running drills in straight lines, then move to easy turns before doing the quick, darting motions. Do a few sprints to get the lungs open and ready, and the heart beat a bit elevated… but don’t overdo it.
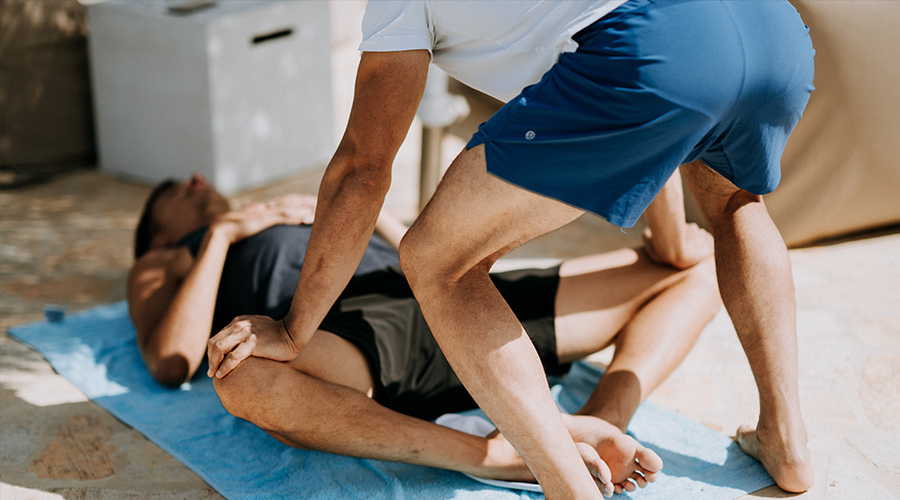
After the game, do a warmup in reverse – a cool down. It will decrease the DOMS and have you ready for the next workout.
Some Important and Useful Soccer Training Equipment
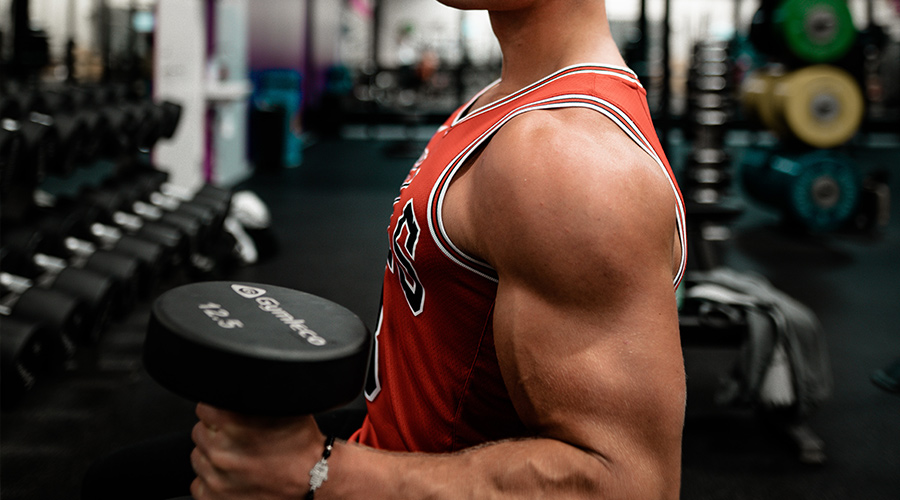
The right equipment can really help with your soccer training.
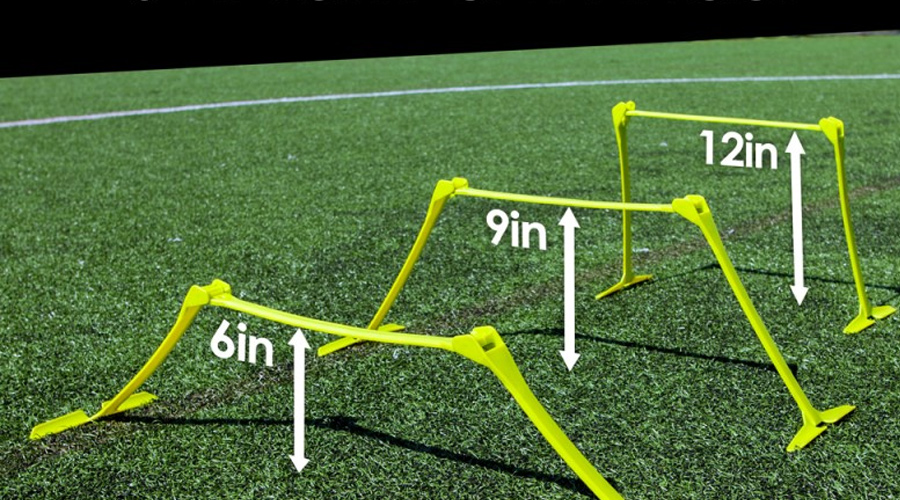
You want to have a good set of soccer goals for training games, but also consider having some smaller pop-up goals for shorter or smaller skill based games, which help to add a competitive element to the play. A soccer rebounder is also great for practicing solo, as it allows you to have a wall to bounce the ball off to set you up for volleys or passing. You can make use of training equipment like adjustable hurdles or a speed ladder to help improve footwork and speed / agility during your soccer practice.